Over the last weekend I spent a relaxing hour or so in my sunny conservatory sewing in all the ends on the finished baby blanket I have made recently. Silly really because I could have crochet them in as I went along. This is some good advice I picked up when watching a YouTube video guide when looking for other things to crochet!
Here is a picture of the finished blanket I made using a ripple effect.

I had been very keen to try this ripple effect for some time but didn’t know how to do it. On watching a few YouTube videos I came across this one by “VeryPinkKnits” demonstrating a Rugged Ripple Crochet Pattern which I felt was the one for me. It is a simply pattern to follow with increases and decreases where there are either valley or mountain folds. I decided to work my hook into the back loops of the stitch which is why the bands of colour look like they overlap. It is the first time I have tried this and although requires a little more attention, I really liked the look.
The pattern is worked in multiples of 12 plus 3 (used for chaining up at the end of the row to change direction). The stitch used throughout is the double crochet stitch and is worked as follows:
Working a sample chain 36 stitches plus 3 for turning at the beginning of row 1.
I have been inspired to crochet different things since coming across a crochet book written by Nicki Trench
Cute & Easy Crochet: Learn to crochet with 35 adorable projects
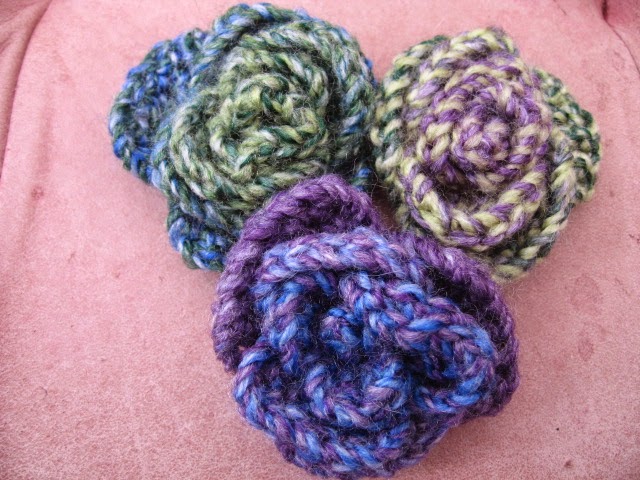
I have made a couple of items from it so far, a scarf and a teddy bear and plan to have a go at the tea pot cover on the front page. I have been practicing the flowers with some spare wool. I quite like them and feel like will look great in the wool I intend to use.
The teddy bear was made in just one day, albeit it took most of the day! Since it was a successful enterprise, I plan to make another one soon!

The pattern is worked in multiples of 12 plus 3 (used for chaining up at the end of the row to change direction). The stitch used throughout is the double crochet stitch and is worked as follows:
Working a sample chain 36 stitches plus 3 for turning at the beginning of row 1.
- Crochet 3 double crochet stitches from the 4th chain space into each consecutive chain spaces (leaving the first 3 chains for the turn).
- Crochet 2 double crochet together (decrease). This is where you start a double crochet in the chain space, leave two loops around the hook and then proceed to work another double crochet into the next chain space to complete the stitch. Two double crochet stitches become one!
- Crochet another 2 double crochet together (decrease) and now you have formed the valley fold.
- Crochet 3 double crochet into next 3 chain spaces
- Crochet 2 double crochet into same stitch (increasing)
- Crochet 2 double crochet into same stitch (increasing) thus forming the peak.
- Start the pattern repeat.
I have been inspired to crochet different things since coming across a crochet book written by Nicki Trench
Cute & Easy Crochet: Learn to crochet with 35 adorable projects
I have made a couple of items from it so far, a scarf and a teddy bear and plan to have a go at the tea pot cover on the front page. I have been practicing the flowers with some spare wool. I quite like them and feel like will look great in the wool I intend to use.
The teddy bear was made in just one day, albeit it took most of the day! Since it was a successful enterprise, I plan to make another one soon!


