I am told that cards with a gardening theme are appealing to most people. With that in mind I have been playing with my new Craftwork Cards “Potting Shed” Mega bundle of papers, toppers and sentiments. What particularly drew my attention to this set was the pre-cut plant pots and wellington boots in Kraft card. I have created some cards below using the these papers but first, I am showing you how to put the bloom into your cards!
This idea came from Julie from Craftwork Cards who recently demonstrated it on the Create & Craft Show as a "how to make a pop-up bouquet" that her colleague Neil had come up with. She used the potting shed collection and the bloom sits on the inside of the Kraft Card flower pot card and opens out when you open the card. I immediately wanted to try this.
After several failed attempts I eventually got the folds in the right place and achieved my petal shapes but I was keen to find an easier way and started experimenting with my dies. I found that I needed a flower shaped die with 8 petals as 6 or 7 petals didn’t work particularly well. Fortunately I had a die from Spellbinders with 8 petals. It is their Die D-Lites Medallion One.
So I began passing this die through my E-Bosser until I had cut 7 flowers. In turn, I put folds into each flower by folding in half at each junction between the petals. I recommend using printed coloured paper rather than cardstock as it is easier to crease.
 This shows the folds before I folded it in half.

Now it is folded in half. with the pretty dots on the inside.
The next job is to cut a way one segment and rejoin by overlapping. This leaves you with 6 segments.
Here is the finished petal. I have cut away the segment and rejoined it to leave 6 remaining segments.
I laid them out as follows:
The gluing together is a very important step to get right. Glue should only be applied along the top edge, not covering the whole of the segment. The first flower had glue placed on the first and third segments before I placed the two flowers either side. Importantly no glue was added in the middle segment.
Again, I placed glue on the first and third segments, just at the tops of these and then placed the next segment over the top, like this.
I continued adding the flowers in this manner until all the parts were glued in place and had dried. Only then did I glue it to the inside of my card. I recommend you watch Craftwork Card’s Bloomin Marvellous video on YouTube to see exactly where to place your glue and how to glue it to the inside of your card. Here is a link to the video Craftwork Cards Blooming Marvellous. If you don't own any dies the video demonstrates how to cut each flower to get that perfect shape.
 I have also had a go at making a special card for Christmas using a Kraft card plant pot, my Poinsetta dies from Spellbinders and the Craftwork Card Kraft boxes I have in my crafty stash. The paper is what I have been using up over the last couple of weeks and is by Bo Bunny. It was very enjoyable to do and I made it with a client in mind. His mother adores my handmade cards.
I have made a presentation box for the card.
Here are a few more cards I have made with the Craftwork Cards "Potting Shed" papers.
This was the Wellington Card.
Crafty hugs, from Crafty Tash
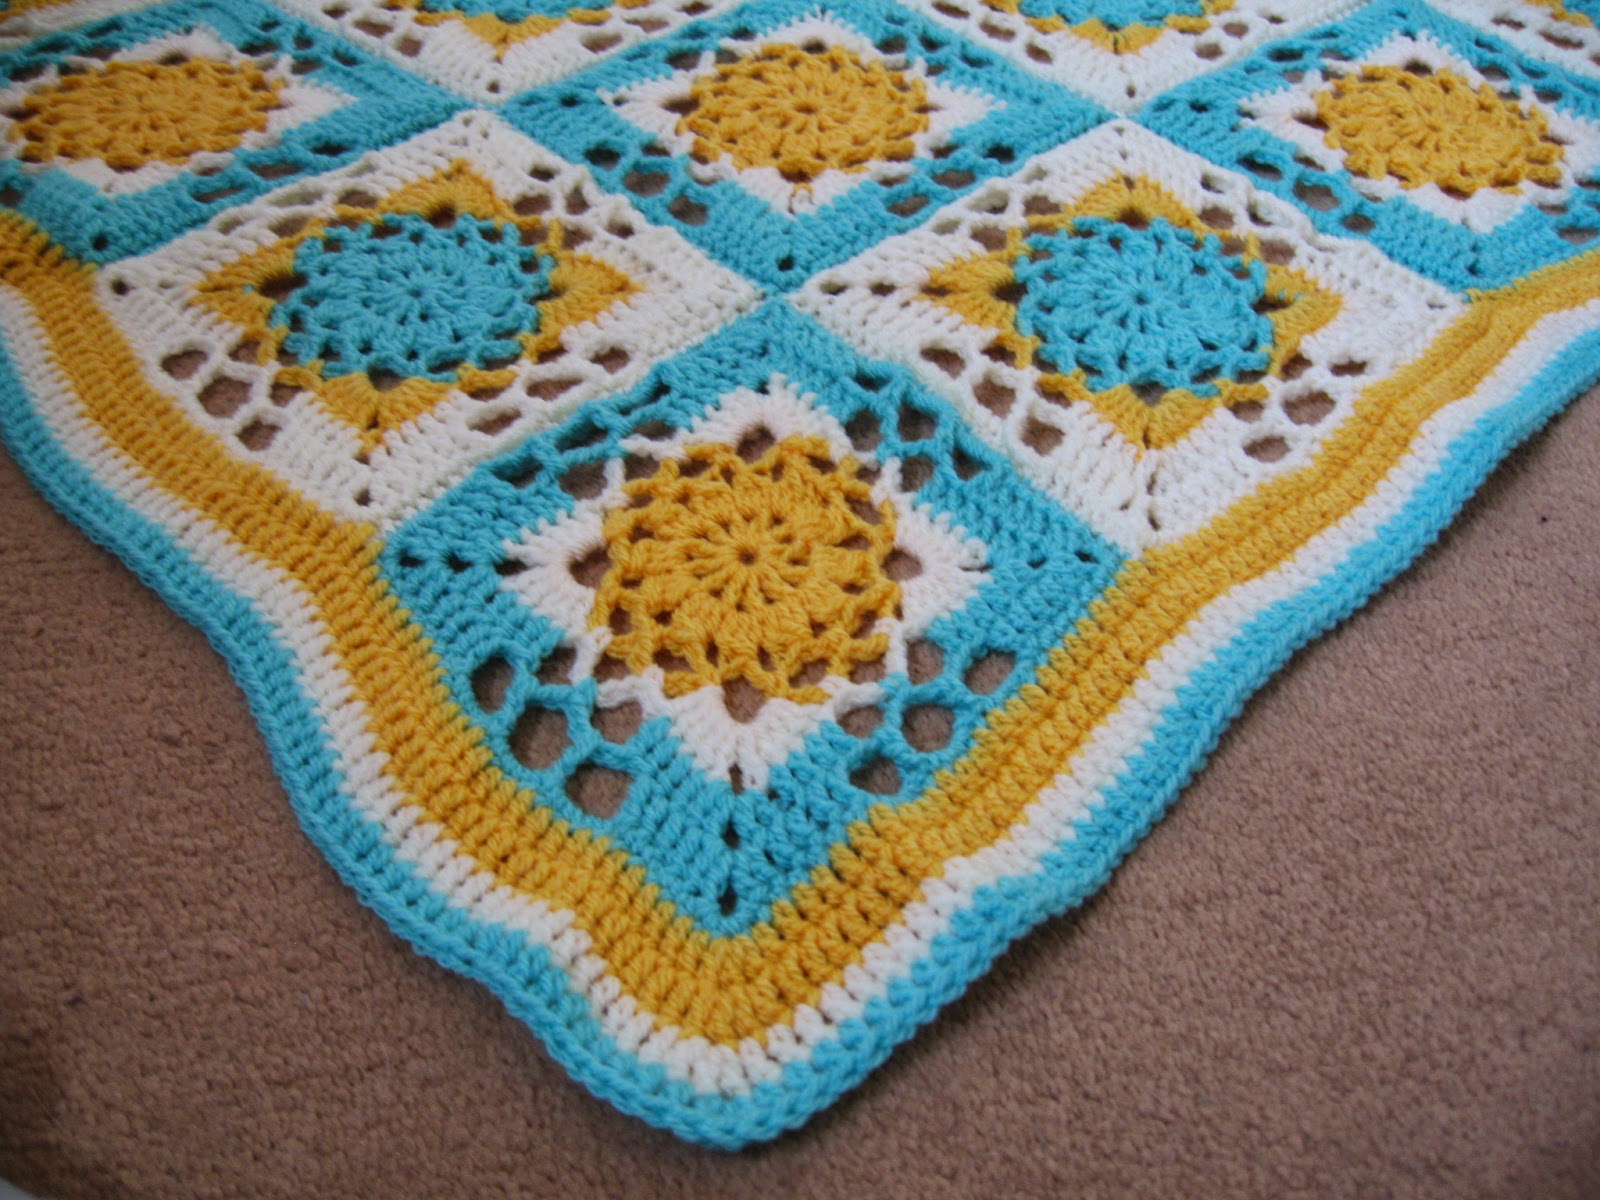
 Today I am sharing with you a blanket I completed back in August. It was made as a gift for an expectant mother who happens to work in the same office as myself. The gift was gratefully received and it was a joy to make. The wool used was Stylecraft Special DK and was lovely to crochet with. The squares, known as the Croydon Square were made individually and then joined together.