Sunday, 28 October 2018

You're Engaged

I enjoyed making these toppers into cards.  Especially with the cards that I used with them.  They fold diagonally giving you the background of the inside of the card to view and decorate.

Here are the six cards I made up from this set.  I hope you enjoy xxx


Sunday, 21 October 2018

Love and Happiness

These are quite lovely card toppers from the Love and Happiness Topper set from Kanban.

Here are some cards that I have made from the collection. 

I have used Tonic dies and worked with 6x6 cards.  I hope you like the black and white theme.


Sunday, 14 October 2018

Love Birds

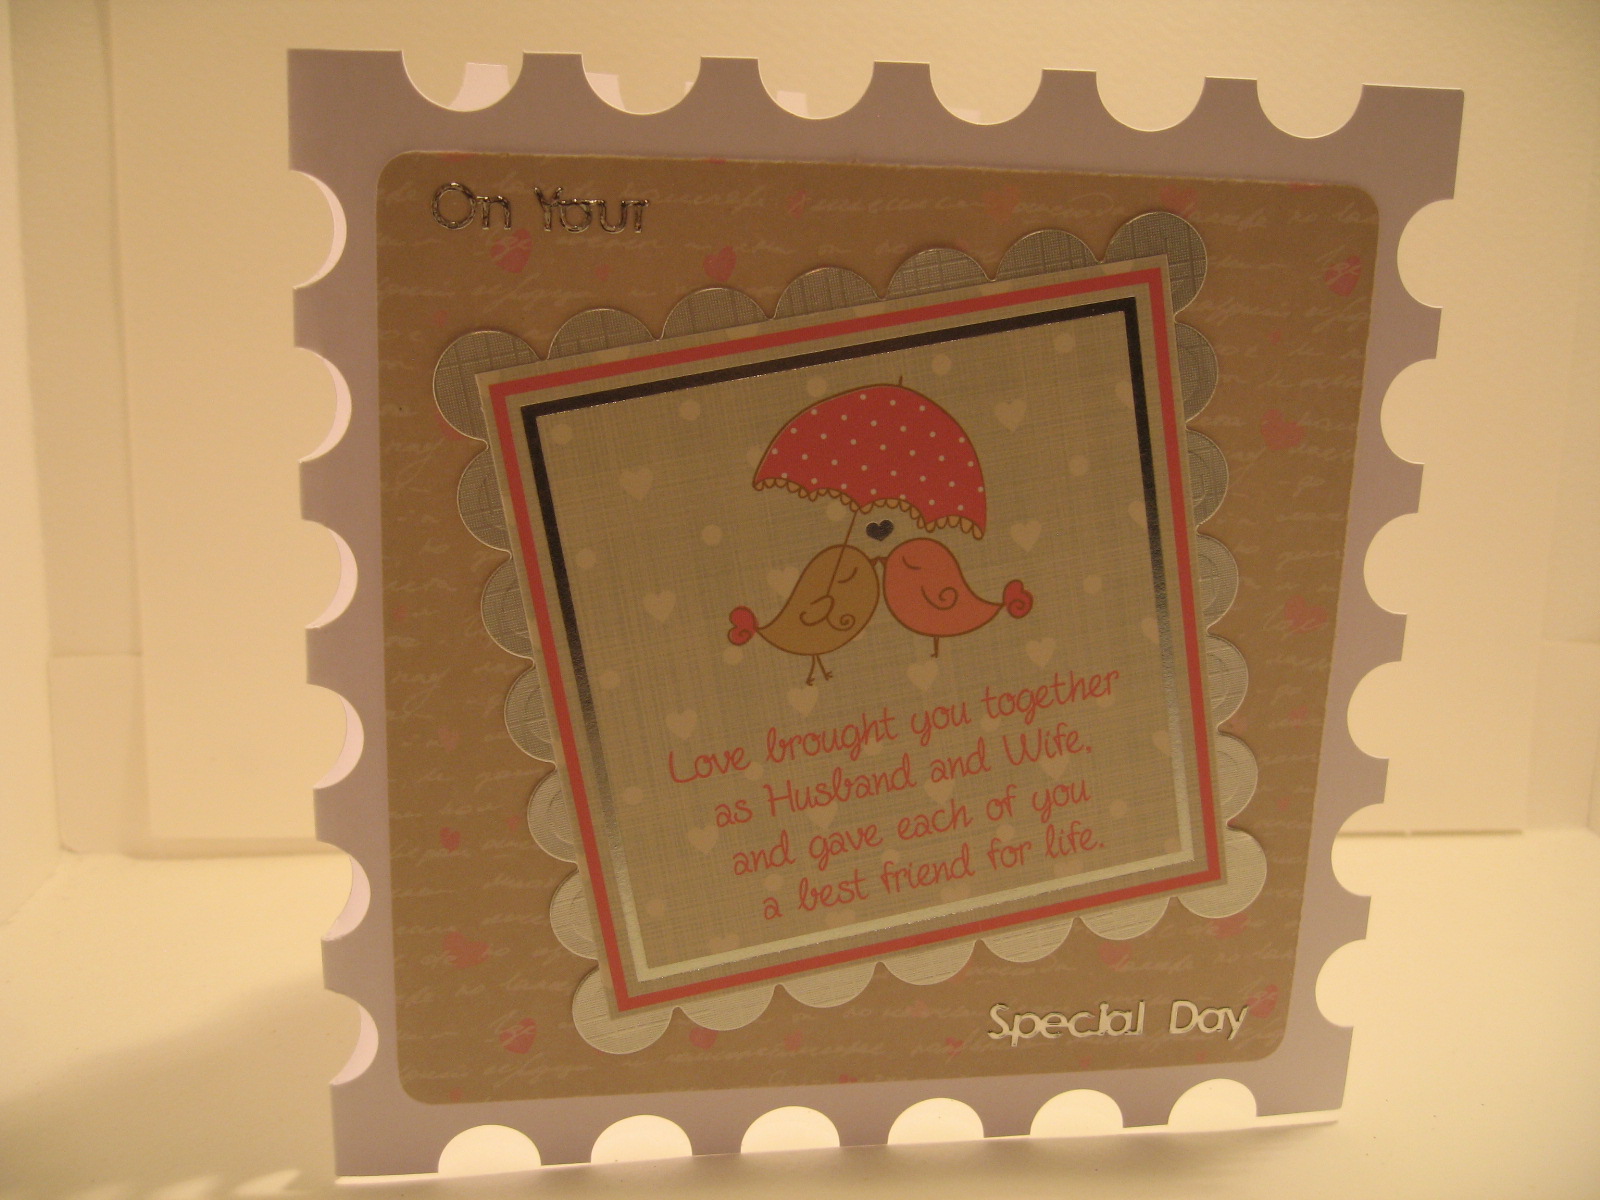
These are so sweet!  They are the Love Birds from Kanban's collection.  

Again I had to look in my archives for the other cards already made from these collection.

Here is the one I made more recently followed by two others already in my stash of handmade cards.


Sunday, 7 October 2018

Celebrate with Bubbles

I like the images on these toppers from the Celebrate with Bubbles from Kanban's Celebration cardkit.  They are fun and modern and the background paper is really cool.  It gave me the idea of searching the internet for an embossing folder with wine glasses on but didn't come across anything similar.  Oh well that's an idea for someone.  

Here are the cards I have made using this kit.  I have used an embossing folder for the background that says "With Love" and "Best Wishes".  It is quite a useful one.  

Here are the 4 cards I have made, enjoy xxx


Wednesday, 3 October 2018

Celebrations

There are six toppers in this cardkit from Kanban's celebrations cardkit so today I present to you six cards I have made.

These first two were made some time ago and I hadn't remembered until I went searching through my archives of photos.  I liked the Tonic Die I had used to cut a frame into the card and then laid the topper over the top.


These five other cards that were made more recently.  I am pleased with the little pearl bows.  If I can lay my hands on more of these I will add them to the rest of the cards.  


Sunday, 30 September 2018

Mermaid's Tail


In my crafty stash of yarn I had some Bernat Blanket yarn which I had purchased with the intention of making a cushion cover but I changed my mind and used some Aran yarn instead.  Then the other week I caught sight of a website where a Mermaid's Tail was being made in the very said yarn.  This gave me an idea of what to do with my Bernat yarn.

The website is called "The Crochet Crowd" and there is a video tutorial that you can follow that shows all the steps in making up this Mermaid's Tail.  A link to it can be found here.

The yarn is beautiful and soft to work with. I adapted the length of the tail so that it worked for me.


The tail looks realistic and has been created by crocheting into the horizontal bars instead of putting the hook through the two top bars at the top of the stitch. This creates a ribbing effect on both the front and back of the work.


I finished this project a fortnight ago and it has been lovely to snuggle into this in front of the television on these colder evenings.

This completes the trio of crocheted objects I have made in the last month so I hoped you enjoyed them.


Sprinkles the Unicorn

In Issue 33 of Crochet Now was free yarn and pattern to make up Sprinkles the Unicorn.  Sprinkles is made in the amigurumi style, in a spiral without slip stitching or turning chains.  It is really important to use stitch markers so you can keep track of the first stitch of each round.  

I found the pattern very easy to follow and made up very quickly.  


Asymmetrical Poncho

I have a few asymmetrical ponchos that I have purchased which are a nice light weight and perfect for the summer.  With the winter approaching I have had a go at making my own based on the same shape.  The shape I was aiming for was a long but narrow piece of work that is large enough to wrap around the shoulders loosely.  Instead of joining the ends like you would if you were making a tube, instead you join half way across the length leaving an opening that your head goes through.    

The pattern is a repeat as follows:


I have quite short arms so you may want to make it wider if you wish to give this a go.  I chained 6x6 (36 + 7 for turning).

The yarn used is Bamboo Cotton by King Cole.  I needed 3 x 100g balls for this project.

Here is the finished result:


And this is what it looks like laid out flat.  From the image you can see where I have left the opening for my head.

       
And one close up:


I have edged the poncho with a series of shells made up of 6 trebles and piques.  Considering I created this design from ideas on Pinterest, I must say I am very pleased with the outcome.


Sunday, 23 September 2018

Good Luck

We all want a bit of this in our lives don't we!

Kanban's Good Luck toppers from their Well Wishes & Celebration collection is a lovely shade of green and inspired me to make some 7x7 cards on this occasion.

I made two very different cards with these toppers. With the first, I covered the front of the card with the horseshoe paper and and then laid the topper over the top at a jaunty angle.  A banner down the left edge and a sentiment was all that was needed to finish off the first card.


The second card was made in my favourite way.  A band of card was placed horizontally and the topper laid across this in the centre.  It shows off the nice watercolour cardstock which is the background.


Hope you like them both xxx


Wednesday, 19 September 2018

Golden Wedding Ring Cushion Cover


I have had these quilting templates in my sewing room for some time now and got as far as cutting out some fabric with the intention of making something out of them then my project stalled because I didn't know how to join pieces together.


This project has languished away for a few years waiting for me to return to it.  However, on a routine tidy up I came across the templates and cut out pieces of fabric and thought it was time to get it on with it!

After watching a Craftsy video specifically for making this style of quilt which is called the Golden Wedding Ring, I understood how to join the pieces together to get a neat finish.  It is a complex design and perhaps not one to attempt as your first project in quilting but it was one that I choose because I really liked the design.

After sewing all the panels together I had some batten wadding that I cut to size and then used stick and spray fabric glue to adhere this to the back of the work.  Another piece of fabric was cut to size for the back of the work and also adhered on. 

I had some plastic templates that I used to do the quilting design with.  Using a ink erasable pen I was able to draw the design on the cream fabric and then used quilting thread and hand stitched the design.  I was really pleased with how it turned out.

I have turned this into a cushion and have a zip at the centre back.  I have put an 18" round feather cushion inside.  I tried the next size up (20") but it really was too large.  I am hoping this one settles down and fills out the shape.  

Since preparing this blog I have found an instructional video on the internet by Jennie Rayment who is a very talented and experienced quilter.  I recall watching her demonstration of this on the Create and Craft channel which inspired me to have a go at quilting this in the first place.

I hope you like my first piece of quilting.

Video demo is available here.