I couldn’t wait for this Garden Bookazine from Debbie Moore to arrive. From
the moment I glimpsed the contents of it, whilst watching Create & Craft TV, I knew I would love
all the elements inside. The colours are warm, yet soft and work so well
together. I've discovered some great ideas using different card styles and decided my first project would be a double easel card. Instructions come with the free CD but this is how I made it.
I used an A5 card and
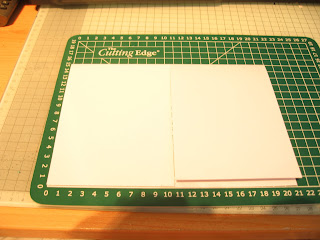
laid it out in front of me in landscape mode. I then marked the center position of the card along its longest edge and cut to the fold of
the card. Since my A5 card is 21cm in length I made a cut line mark at 10.5cm. This produced two equal halves on the front half of the
card.
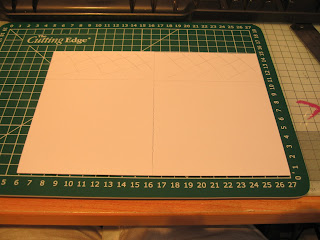
I then needed to cut off some surplus card in order to have the two pieces square in shape. I therefore measured 10.5cm from the fold line to the edge of the card and marked my cutting line (You can just make out the hatched markings showing the area to be cut away). This left me with two squares measuring 10.5cm.
I then scored each of these two halves from the point where the
cut meets the fold to the outer corners to create triangles. Tip:
Ensure you place the folding line from the center to the outer edges on
both halves otherwise the toppers will be facing away from each other
once you have put a crease in your fold. Fortunately I got this right
on the first attempt!
I used the papers provided in the bookazine to
back the card and then decorated with the topper and sentiment. The flowers were made from scraps of leftover paper with the use of my punches. I wish I had made the hat 3 dimensional now but hey, there is always another occasion since I have a permanent supply of toppers and matching papers on the CD.


No comments:
Post a Comment