Sunday, 14 August 2016

My Pebeo Experience

Inspired by artist and demonstrator, Sheena Douglass, I spent some time creating canvas boards working with Pebeo Products.

Cern Releif
Acrylic Dyna Paints 
Prisme Fantasy in turquoise colour
Gold metal leaf
Buttons
Stencil
Modelling paste

This first one is on a canvas board 10x10cm. The smaller size canvasses are a good place to start whilst you are building your confidence.

I used a stencil to create the foliage and a gold pen to catch the glint from the sun as it was dropping in the sky.


 I played around with where the light was coming from on this next one.  


With this next one I was having some fun using some transparent cerne relief outliner and PVA glue to create the squiggly lines.  Once dry I was able to paint with irridecent acrylic paint and use some Prisme Fantasy paint. The canvas was painted black to begin with.  I then created the circular shape with modelling paste and allowed it to try before continuing.  I like it and may have another attempt at it now. 


Now the final canvas.  This one is larger, 10"x7". I started off by painting my canvas black then used some modelling paste through a stencil to create texture.  Next I laid out some buttons and adhered them into more modelling paste.  I then did the same with some string.  Once dry I was able to lay down some cerne relief on top of the string so that when it became dry and tacky I was able to lay my gold metal leaf over this.  

When dry I used my irridescent paints to paint the canvas.  

I think I did Sheena proud and would like to thank her for the ideas and getting me started on this journey of using acrylic paints in my mixed media.


Monday, 8 August 2016

In high tide or low tide I will be by your side

Good morning fellow Crafter's. I am sharing with you a card I have made with a beach scene. I have a set of matching stamps and dies that are a perfect size made by Justrite.

I tried a new technique for creating the background. I stamped the stencil with embossing ink before placing it face up on the die cutting plates. Then I gently placed the card stock on top before completing the sandwich for embossing. The effect of doing this forced the ink into the areas that were to be embossed. The cardstock was then coated with embossing powder in lavender then heat embossed.

After first stamping and then cutting out the shells they were coloured with H20s.

The frame was cut from Sue Wilson's square frame dies and I made the background using Imagination Crafts spray ink.


Monday, 1 August 2016

Pixie Powder Celebration

Last year I started using Brushos which is a powdered paint for backgrounds in my cardmaking.  The tiniest amount sprinkled onto card and then sprayed with a fine mist of water can create stunning backgrounds.   

Creative Expressions has developed this concept a stage further and added mica to give it a pearl finished and called it Pixie Powders.  The powders come in nice bottles with a nozzle tip so it is easy to shake out the tiniest amount.  When the colours blend the effect is gorgeous.

I am going to share with you today cards I have made where I have used the Pixie Powders to create wonderful backgrounds.

To make the background I needed some coloured tissue paper to match my pixie powders, a piece of acetate, some clear varnish lacquer (Cosmic Shimmer) and Pixie Powders.  I used Lava Red, Candy Pink and Rich Gold Pixie Powders.

First I took the acetate and spread a layer of clear vanish lacquer (Cosmic Shimmer). Working quickly I then sprinkled the powders randomly over the acetate.  The glue had the effect of making the powders spread, pretty much like water would.  I then laid a piece of pink tissue paper over the back of this.  When the lacquer was dry I trimmed off the excess tissue paper and the background was ready to use.  This is how it looked.


This image is the front and the one below is the back.


I used my Striplet die "Jubilee" from Sue Wilson to create the layer that sits over the pink background.  This was matted and layered onto card then finished with a flower made from tissue paper.


The next card is very different but again I used the Pixie Powders to create the background.  This time the colours used were Aqua Lagoon, Midnight Blue, Teal Wash and Peacock Green and green tissue paper.

I used dies from Sue Wilson's Greek Collection. I fell in love with this background die the moment I saw it and combining it with this technique for the background works particularly well as it allows the light to pass through.  I also used the border die from this collection to add drama down the side of the card and finished it off with the tag.  


These are my favourite colour combinations and I simply adore how this card has turned out.


Saturday, 23 July 2016

FabrIc Painting with Starlights Textile Fabric Paint

I've now moved on from painting cushion covers to my own clothes.  I brought some fabric paints this week from Imagination Crafts called Starlights Fabric Paints.  It is a water based paint with metallic sparkles and has a binder in it so that the paint is washable.  

I have plenty of old T Shirts in the wardrobe that needed a new lease of life and now they have them, take a look see!


This was the first one I made using a stencil from Imagination Crafts.  I started with the white pearl paint then some cyclamen then a tiny bit of sax blue in the middle.  The colours blend really well together.


Here I used another stencil from Imagination Crafts which is one of my favourite stencils.


After trying the paints on a few T Shirts I got out an old pair of jeans and found my poppy stencil from Clarity Stamps.  I love the dark topaz (browny paint).


This is another favourite stencil of mine from Imagination Crafts.  I used three colours on this working them lighter as I got towards the centre of the image.  Again, I used dark topaz and then used some orange and gold.  I feel like sewing on some sequins in the centre of the flowers.


I just love how this one turned out.  Here I used two colours, silver and the sax blue.


And finally another favourite stencil of mine was used to decorate this T Shirt.  I used the sax blue and green which are perfect for peacock feathers.  I may sew on some sequins on this too as it will make it look even more amazing.


Sunday, 17 July 2016

Paper cutting with the Silhoutte

I am really keen on the idea of trying papercutting.  I have been collecting inspiration on Pinterest.  However, instead of cutting out with a scapel, I plan to use my Silhouette to make all those intricate cuts for me.  All I have to do is design something!

Okay so lets start with something simple that involves joining (or welding as the term is known) several elements together.


I start with a heart shape.  I only need the outer edge so I create two.  I place the smaller one inside the larger one and when I weld them together and now I have what I need for the edge of my papercut.

Next I try different fonts until I find a font that will look good when I nudge the letters close up and then weld together.


Next I play around with different leaves and flowers but finally settled on one image that I particularly like.

I then resized it to fit inside the heart and found a spot where the text would fit in the available space.  The text, flower and heart shape were welded together and this is the end result.  I have framed it so it can go on the wall.


Sunday, 10 July 2016

Papercraft Garden Bench

I don't mind a challenge, especially if I think it is achievable.  Despite still being a novice with my Cameo Silhouette I have produced some stickers for a local choir and recently set myself a  challenge of making a 3D garden bench.  This came about because I didn't want to wield a scalpel!

I had been inspired by a bench that Neil Burley had made for Craftwork Cards.  It was one that started out as a window box card.  Paul saw beyond this and created a sweet little bench.

I too could have made one with the window box cards but as soon as I set about using my scalpal I knew I would not be able to do a very neat job.  This is really a job for the Silhouette.

I wanted my bench template to be cut from cardstock no larger than a standard A4 size of card as this is what we all have to hand.

I had a go at creating my trellis panels for the back of the seat.  It took the longest time.   After a few alterations to the design and template I came up with this little beauty. Now it may have taken me 4-5hrs to perfect and a few minor tweeks to each version before I was content with the design, but I have to say I am very pleased with it and inspired enough to have a go at making an edge-able card next.


Well, what do you think?

Friday, 8 July 2016

Birthday Shadow Box Die Card

I am enjoying a few days at home this week which is giving me an opportunity to watch all the live "Christmas" shows on Hochanda.  Needless to say I am getting inspired by ideas and taking advantage of great savings.

I would like to share with you a card I have finished making using Sue Wilson Birthday Shadow Box collection.  

Whilst watching Sue Wilson demonstrate on the Hochanda show I saw her demonstrate a product called Pixie Powder.  This is a similar product to the Brusho and used in the same way.  What I liked about these particular powders is that they have a mica powder in them and I like the finish.  Also, the containers they come in have a fine nozzle so it it easy to tap out a small amount.  With the Brushos you need to pierce the lid to create a small aperture and that isn't obvious!  The Pixie powders are also clearly identifiable because they have colour labels.  This makes it easy to tell which one you have picked up which I struggle with when using the Brushos.  Both products have a place in my craftroom but I suspect the Pixie powders will be a firm favourite.  

The collection of Pixie powders I have are Midnight Blue, Peacock Green, Aqua Lagoon and Teal Wash.  I used the Midnight Blue, Aqua Lagoon and a touch of the Teal Wash onto some card and used this as the background for the Shadow Box die.  There was just enough card left over to cut out some of the small balloons and coffee cups.  The Tea pot and cups are a product of Joy! Crafts.

Once I had cut out the Shadow Box die and mounted it onto the background I had made with the Pixie Powder, I cut out the smaller dies to put in the apertures.

I was unsure how I was going to mount it because of its size.  I decided to make a stepper card to mount it on.    I own a stepper card die which wasn't wide enough but it gave me a basis for creating one myself using Cameo Silhouette.

Now for the enveiling - da da!


Saturday, 2 July 2016

Mr & Mrs Wedding Card

I love the fact that I can combine my Cameo Silhouette with my dies.  I have a lovely new large die from Crafter's Companion decorative Create a Card dies. It is perfect for creating a lovely edge on the front of cards.

Here I have combined it with a finely detailed topper (Mr & Mrs) that I purchased from the Silhouette Design Store.  The beauty is that I was able to re-size it to fit the area in the middle of the card. I also used a Tattered Lace die for the bride and groom.  The card has an easel stand at the back to hold it upright and a personal sentiment.


Saturday, 25 June 2016

My Craftwork Cards - Venetian Card Collection

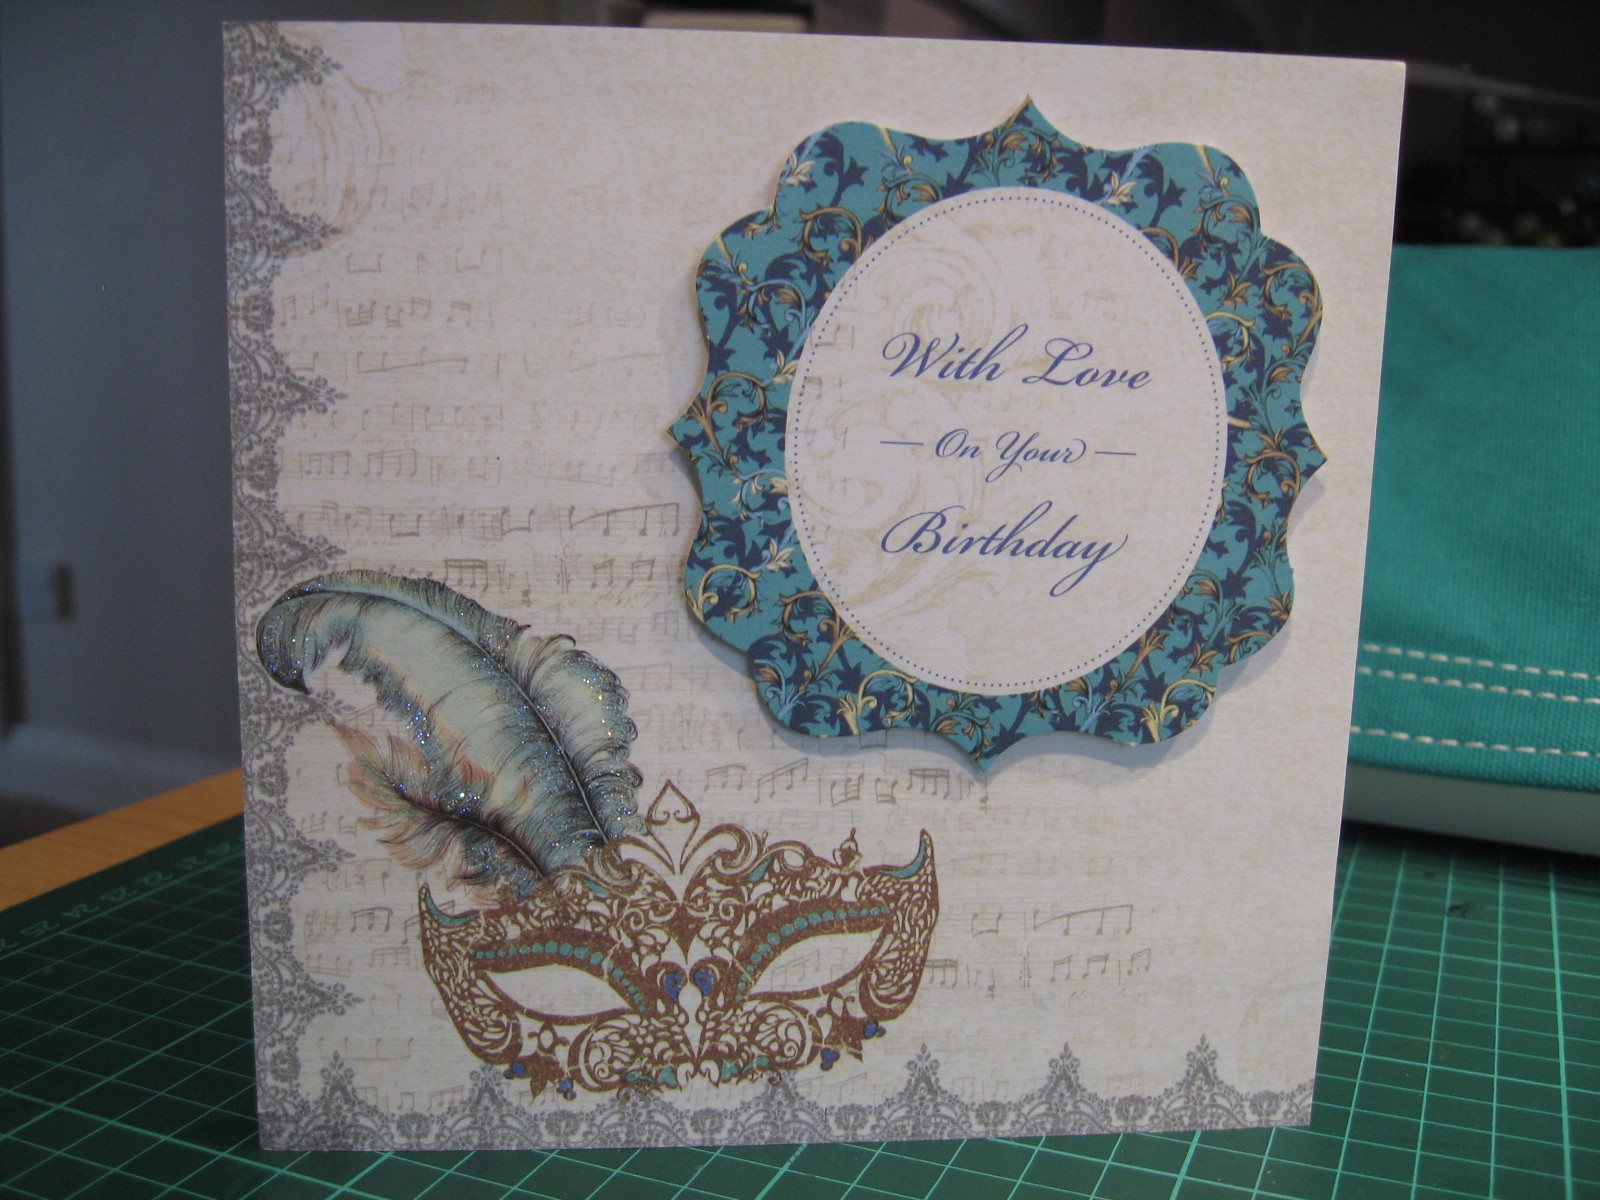
I have made a point of trying to finish this card collection that I started many moons ago.  I love the tones of blue and turquoise in this collection and I happened to have a venetian mask die that came in handy.  The toppers ran out before the paper pad did so I have tried my hand at some paper folding techniques.  I still have lots of paper left but it is time to move onto something else so I am uploading my cards to share with you today.


Saturday, 18 June 2016

Stamping around!

I have been playing around with some stamp sets by Leoni Pujol.  I have used some fusible fibres on some of these.  Leoni released these new stamps on the Hochanda Show recently.  It has become my favourite TV craft show for inspiration.  

The first card I made was very simple to do. In fact it took me longer to delve into the back of my cupboard to find my fusible fibres and craft iron!  I simply ironed the fusible fibres between a heat resistant craft mat to fuse the fibres together.  I then used Leoni's heart stamp as a guide to cut around as I liked its quirky shape.  


On this next card I joined several of these hearts together to form petals of a  a flower.


I used a technique new to me on this card's background below.  I applied ink to the stamp and then misted it before stamping.  I then re-stamped the card over the top of it once it was dry.  I then stamped and coloured some butterflies and stuck these one.


This time I use white embossing powder and stamped the card before applying my aqua paints.  I really love this effect.


On this last card it was this stamp set that I fell in love with.  I just loved the image of the young girl and the idea of making the wings look real with fusible fibre as demonstrated by Leoni on the Hochanda Show.  I had been playing with my aqua tint inks and had some cardstock left over which had fleshy colours so I was able to use this card to make the flesh look life like.