Thursday, 19 June 2014

Sports and Leisure Time by Hunkydory

I have been very quietly crafting away over the last two weeks making up cards from my Hunkydory Sports and Leisure themed card kits.  It is great to make cards that men will appreciate as well as women and has been immense fun to do.  Since I have just had delivered my headers dies from Tonic I used one from the Ornate Elegance set on the top of the card you see below. 


You can view all my cards from the Hunkydory Sports and Leisure set here.

Sunday, 1 June 2014

Paper Couture Paper Pad

Craftwork Cards - Couture 


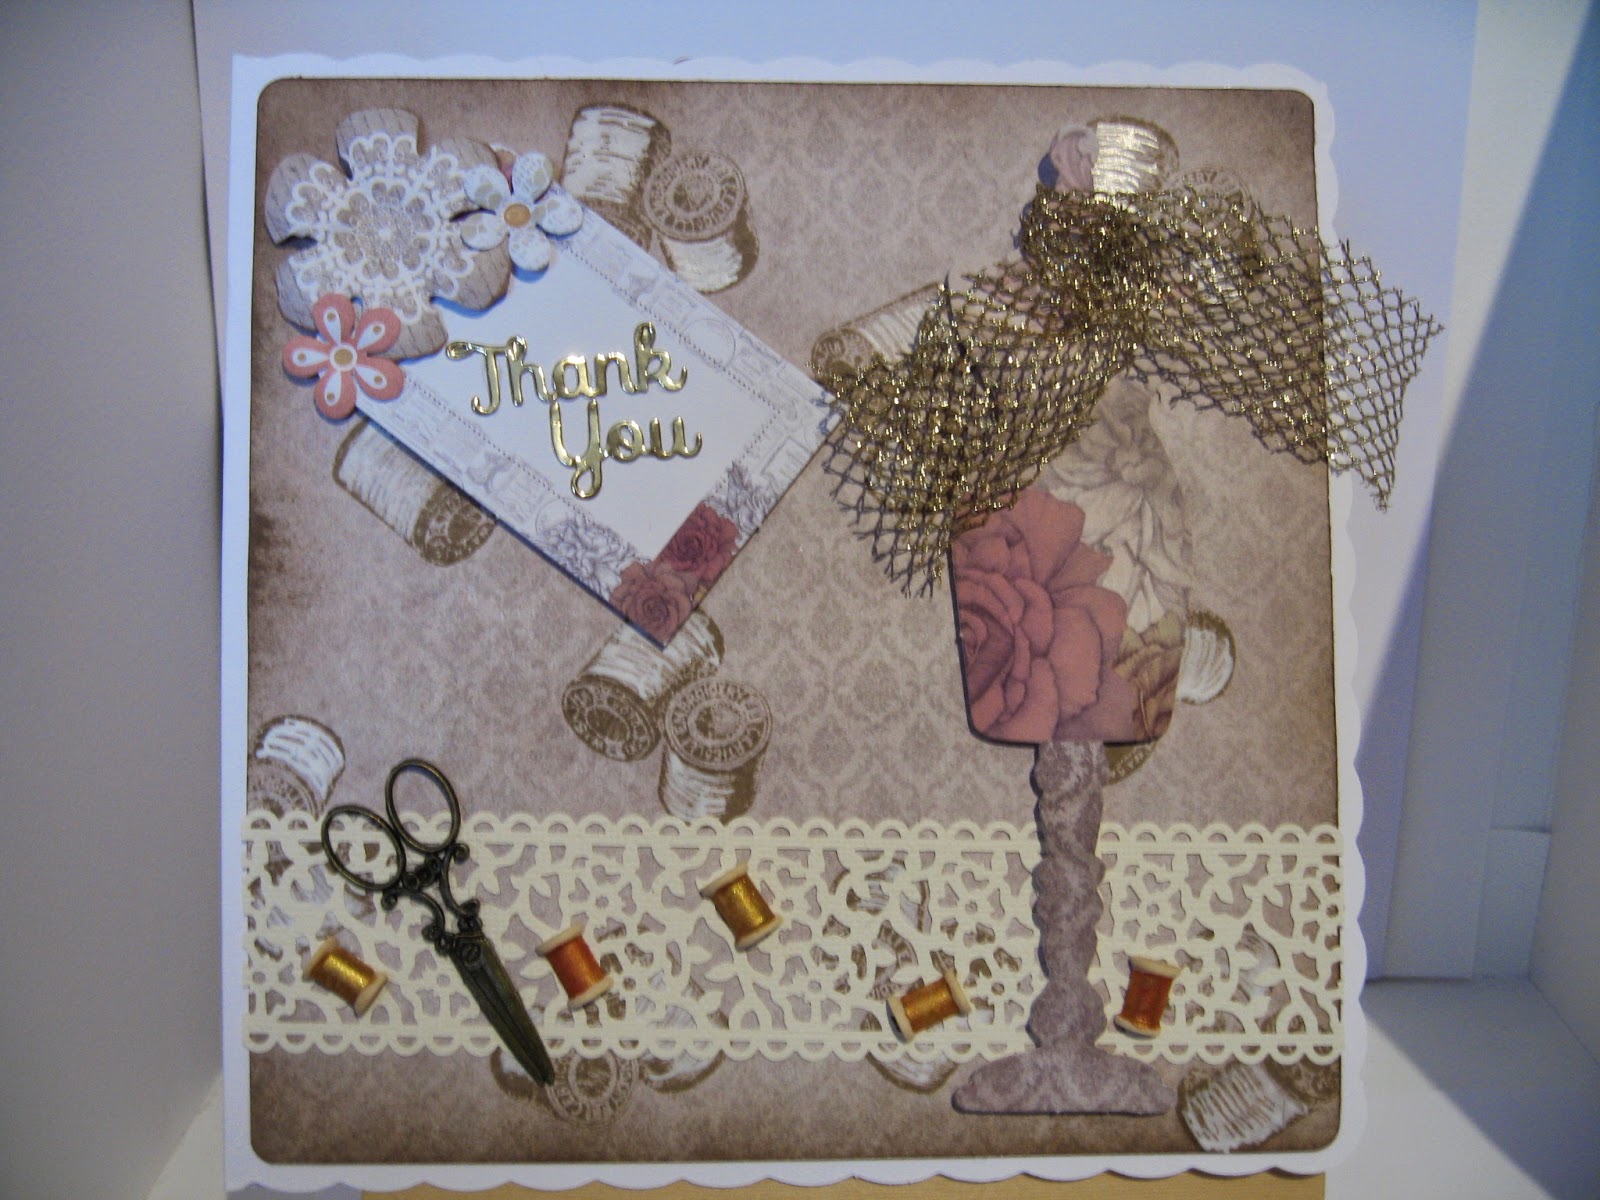
I have a collection of papers from Craftwork Cards called Paper Couture which is in pretty vintage colours.  The paper pad contains 36 double-sided patterned papers and die-cuts consisting of mannequins, tags and sentiments.  I like using mannequins and images with sewing machines etc as they lend themselves well with other stamps I have.

Here is a card I have made inspired by Julie Hickey who posted this card on Pinterest.  I have a small envelope punch which was the perfect size for the little tag.  The scissors have been covered with glossy accents which gives them not only a shine but a lift from the card.


Here is another one where I have dressed a mannequin with a paper doiley.  The cotton reels were painted with Silks acrylic glaze paints and are from a stamp set called "Homemade".  The paints have a lovely silk finish to them.


and a few more!


A small paper doiley was used to make a dress for this mannequin.  I enjoyed colouring the scissors in the background with my Sakura silver gel pen.  It has made the background stand out a little more.


Again I have used my "homemade" stamps.  I also stamped the tape measure onto another piece of background paper and cut out part of it and adhered to another stamped and cut out image on my Kraft Card.   I do love the sewing machine images. 


With this card I have used some dies from Creative Expressions, a striplet die "Lattice Heart" and "Hollywood" from the California Collection.  They emboss so beautifully on my pearl card stock.  The haberdashery stamps are from Clarity Stamps.


This paper folding technique is one I have noticed on a few cards produced by Craftwork cards so I was keen to try it for myself.  


Here I have used my cotton reel stamp and stamped the background paper and distressed around the edges.  The beige die is a rose strip die from Tonic. I have painted some miniature cotton reels with my silk paints.

And here are a few more to share with you.


Monday, 26 May 2014

Habour Boulevard

It's time to make some cards in bright summery colours and who else would I turn to but Craftwork Cards. The Craftwork paper pads are really good quality and I love their designs. 
The paper pads I have used today are the Al Fresco and Habour Boulevard.  Both of these paper pads remind you of warm days spent in the great outdoors.  Not something I have been doing this weekend, other than to replenish my pot on the front door step with some fresh plants!

The first card has been stamped around the edges with sea shell stamp (Clarity Stamp) and painted with translucent H20s. Then I matted and layered the papers from the Harbour Boulevard paper pad and cut out the anchor with sea gull.  I love the the beach huts.


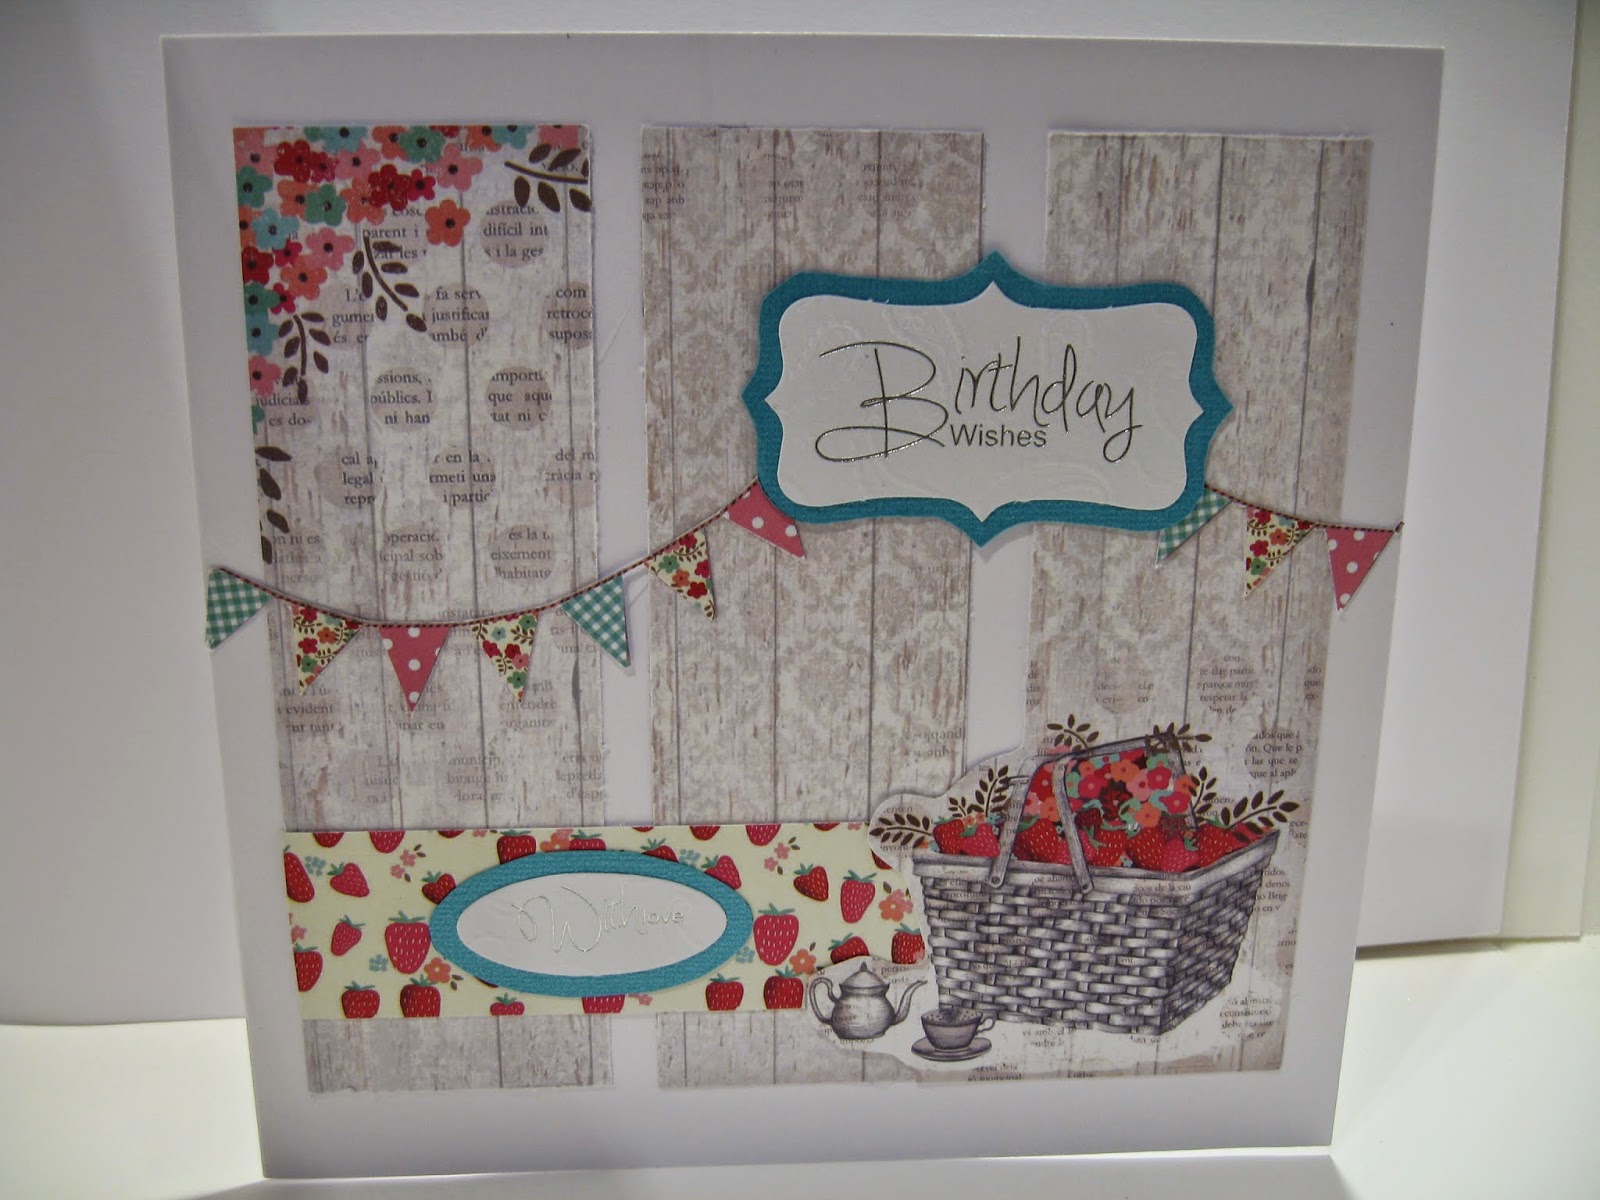
The next two cards were made from the Al Fresco paper pad.  I love the bicycle and basket of strawberries.  

Let me know if you have a favorite.


Sunday, 18 May 2014

A Taste of India

I am full of crafty happiness this weekend.  I have been learning some new techniques for blending my dye inks and have some new stamps and dies to play with.  The theme is "A Taste of India".

Once again Sheena Douglass has designed some lovely stamps and embossing folders that work well together.  She has also found different ways of using glycerin with card.  I have already tried her faux leather technique and made a book jacket as a gift for my mum.  You can watch Sheena demonstrate this technique on her YouTube video found Sheena's Faux Leather.

Her latest discovery is using glycerin as a base before using dye based inks as it aids the blending process.  I have tried this process in the card I have attached here.


This first card I made I embossed some pearlescent card stock then used my Stazon Ink Pad over the surface to highlight the embossed area.  I then lightly sponged glycerin onto the card surface.  I used Adirondack Inks in Lettuce, Wild Plum, Eggplant and Stream colours and blended them all over the card.  This card came out quite pale in comparison to the second example.  The difference with this second example is that I didn't use pearlescent card stock which made the colours much stronger.  


I also used some H20s on this second example over the embossed areas to add some shimmer to the card.  I love the strong vibrancy of the colours.

Another card coming soon!


Wednesday, 30 April 2014

Ripples and all things crotchet


Over the last weekend I spent a relaxing hour or so in my sunny conservatory sewing in all the ends on the finished baby blanket I have made recently.  Silly really because I could have crochet them in as I went along.  This is some good advice I picked up when watching a YouTube video guide when looking for other things to crochet!

Here is a picture of the finished blanket I made using a ripple effect.  

I had been very keen to try this ripple effect for some time but didn’t know how to do it.  On watching a few YouTube videos I came across this one by “VeryPinkKnits”  demonstrating a Rugged Ripple Crochet Pattern which I felt was the one for me.  It is a simply pattern to follow with increases and decreases where there are either valley or mountain folds.  I decided to work my hook into the back loops of the stitch which is why the bands of colour look like they overlap.  It is the first time I have tried this and although requires a little more attention, I really liked the look. 

The pattern is worked in multiples of 12 plus 3 (used for chaining up at the end of the row to change direction). The stitch used throughout is the double crochet stitch and is worked as follows:

Working a sample chain 36 stitches plus 3 for turning at the beginning of row 1.


  1. Crochet 3 double crochet stitches from the 4th chain space into each consecutive chain spaces (leaving the first 3 chains for the turn). 
  2. Crochet 2 double crochet together (decrease).  This is where you start a double crochet in the chain space, leave two loops around the hook and then proceed to work another double crochet into the next chain space to complete the stitch.  Two double crochet stitches become one!
  3. Crochet another 2 double crochet together (decrease) and now you have formed the valley fold.
  4. Crochet 3 double crochet into next 3 chain spaces
  5. Crochet 2 double crochet into same stitch (increasing)
  6. Crochet 2 double crochet into same stitch (increasing) thus forming the peak.
  7. Start the pattern repeat.


I have been inspired to crochet different things since coming across a crochet book written by Nicki Trench
Cute & Easy Crochet: Learn to crochet with 35 adorable projects

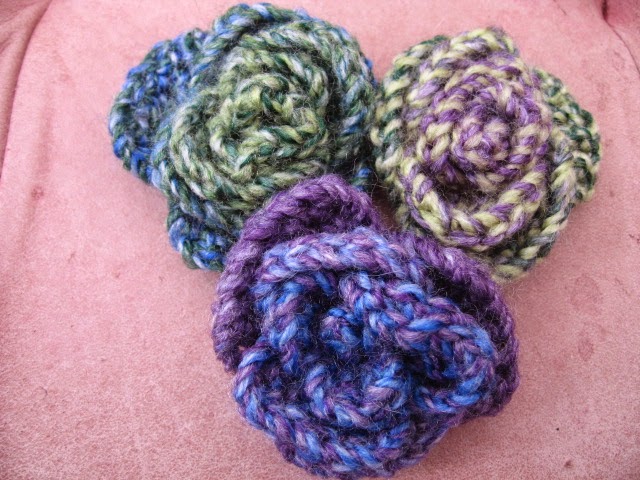
I have made a couple of items from it so far, a scarf and a teddy bear and plan to have a go at the tea pot cover on the front page.  I have been practicing the flowers with some spare wool.  I quite like them and feel like will look great in the wool I intend to use.


The teddy bear was made in just one day, albeit it took most of the day!  Since it was a successful enterprise, I plan to make another one soon!


Sunday, 27 April 2014

Hand decorated Easter Eggs

Easter is behind us now so I have been tidying away what my husband has sweetly named my "love eggs".  Before I put them in our loft for a well earned rest I thought I would share them with you.  The eggs are made of polystyrene and I have covered them in either sequins with pins or decoupaged them.  The idea came from Princess Pinflair when she appeared on the Create and Craft TV Shopping Channel last month.  I thought this was a novel idea and something new for me to try.  There are lots sequin kits available on the Pinflair website but I think this kit was only available to members of the Create and Craft Show.  They were fun to make and kept me quiet for three weeks or more.  Once I had finished adorning the house with my love eggs, it really did feel like Easter.

I hope you liked my love eggs, Crafty Hugs, Natasha


Monday, 21 April 2014

Sew much fun

It has been great to have some time off and be able to be creative.  I have had this itch for some time to do more sewing and although I had an idea what I wanted to make, I hadn't researched patterns so wasn't in a position to do much sewing until today, Easter Monday!

Searching on YouTube lead me to a sewist called "Patty Doo" who gives amazing clear instructions on making purses and bags.  One design that grabbed my attention was her tutorial on the Bowie Case. The Bowie case is a cute little bag with a bow, that can be sewn in 4 sizes depending on the size of your mobile device or an even bigger version to use a clutch purse.


Watching the video tutorial made understanding the steps involved simple so I went to Patty's website to download the pattern for £2.78 so I could give it try.

Thankfully, no resizing of the pattern was required and it was easy to determine which size would best match the size of my mobile device.   The hardest decision was whether to go with the bow or not!

Having cut out the pattern pieces I then rooted through my small stash of fabrics recently purchased through Little Laura's Haberdashery (www.littlelaurashaberdashery.co.uk) to see if I had something suitable to use.  In the end I settled on another fabric because I liked the really pretty print and felt I had something equally suitable for the contrasting bow.

A couple of hours of sewing and re-winding of the tutorial video and I was soon finished.  All that is left to do is put a magnetic clasp on it and then I can start using it.

Not bad for an afternoon's work and a very nice change it made.


                                           Back view


                                           Front view

I hope I have inspired you to make something for yourself.  Do check out Patty's website at http://www.emmalinebags.com for more ideas and tutorials.

Craft hugs, Natasha


Wednesday, 26 March 2014

A little bit oriental


I have gradually built up my stash of oriental dies, courtesy of Tattered Lace, and felt it was time to put these into use.  I dug out my unused papercrafting pad from Graphic 45 called Bird Song and deliberated for what seemed like ages before I came up with this card concept.

I have used a circle punch to create the Tea Bag rosette and used a chip board image from the Bird Song range as the focal point.  

I was pleased with the result and the fact that I had mastered another tea bag technique known as the Dahlia fold.  I got the idea from a book but the instructions are available on the Internet if you know where to look.

If this technique interests you take a look at Judy Headrick's website where she has quite a few techniques available for you to download for free at http://www.handcraftedgreetings.com/teabaginst.php


Sunday, 23 March 2014

Pollyanna Pickerting British Wildlife

We card makers always find it tricky making cards particularly for the men in our lives, or at least I did until I discovered Pollyanna Pickering's British Wildlife DVD Rom. The images on this DVD are truly amazing and their is plenty of inspiration to try different card techniques.  

Pollyanna Pickering is an internationally renowned wildlife artist and environmentalist.  Born in Yorkshire, she is an English wildlife artist who has gone on many expeditions around the world to study animals in their natural habitat and then captures these images in her artwork.

This DVD will be appreciated by anyone with a love for wildlife and now there is another DVD by Pollyanna based on world wildlife.  I can't wait to get my hands on a copy of this!

Since purchasing this British Wildlife DVD I have made 4 or 5 cards for males and have been very pleased with the results. So much so, that I brought a paper crafting set of toppers, matching papers etc and sent them to my mum in Spain so that she too would have the benefit of having this for her crafty stash.

Here are some of the cards I have made:


Here are three more using the same images but varying the end result.  I have used a die from Britannia dies which works well with the image.


Thursday, 20 March 2014

Christmas Door and Wreath Tutorial


Question: 
How do you turn a window die into a door?

Answer:  

Follow this tutorial!

http://www.dipsdesigns.com/2013/11/christmas-door-wreath-card-tutorial.html

I love my Tonic dies so when I stumbled upon this tutorial "Christmas Door and Wreath Card Tutorial" last week I didn't care that it was far too early to be thinking about Christmas Cards, I just wanted to have a play at turning my window die into an actual door.

It took a few attempts to get this right but I think it was worth the pain!  It was also my first experience of hanging my dies over the edge of my plates to avoid them cutting into the card stock.  

 A window die with 4 panes has now turned into a door with 6 panels.  It is great how flexible this die can be.

I used some very expensive red velvet card once I had perfected the cut and I think you will agree it looks stunning! The card is called Red Velvet Card and 3 sheets set me back £2.50.  I had been saving it for my Poinsetta dies but since I have made two doors from one sheet it isn't too bad! The supplier is Pink Frog Crafts and Cards.  They have amazing card stock for printing on called Inkjet Printable Shimmer White Decoupage Paper.  The weight is 160gsm so prints without any jamming and the quality is great.  


Here is the door without the wreath decoration.  My gratitude goes to Dips Designs for sharing the tutorial with us fellow crafters.  Thanks Dips. 

Now I just need to decide whether to go with the wreath idea or not and make the background card for the door to sit on.  

Keep crafting, Crafty Tash