Saturday, 10 October 2015

Craftwork Cards - Festive Chalkboard

You may have wondered what I have been up to these last few weeks as my blog has suddenly suffered an absence of silence.   Well not a day has gone by where I haven't been crafting and experimenting.

Festive Chalkboard Collection PackOne of the projects I have been working on is my Craftwork Cards Festive Chalkboard collection.  This came in a large box consisting of an 8x8 paper pad, tag pad, banners, bows and frames; sentiments, chalkboard candi and printed card stock in two sizes and chipboard shapes including a tree, a Christmas stocking and a Christmas Ornament.

Here is the chipboard tree I made into an advent calendar of sorts.


and here are some of the cards I have been working on.  Sometimes I get so far with a card and then add a bit more like bows and sentiments when I get towards the end of the stock and want to use it up.  So some of these are not in their truly finished state. However, I think they are good enough to share with you today.

I love the printed background on this card so much that I wanted to make it the feature of the card so I used my "Stickles" on some of the words and made bauble decorations to finish it off.


This next one did need something in the centre so I used my "Snow" die by Sue Wilson.


Now a chance to use the tags that I had and the wonderful "Joy" and "Peace" dies from Sue Wilson.   


I covered a miniature stag in two layers of glitter and found it was a good way of linking the tag and sentiment together.


In this one I made use of my Tonic Merry Christmas Sentiment Die which I thought worked well.


I simply love this Tartan background paper and made use of my Sue Wilson "Angel" die.  Using feathers on the gown is so lovely.


Here I have cut the tag down to use as a topper.


Some of the cards that came with this papercrafting kit are quite small 4.5" x 4.5" so I didn't want to overcrowd them so the next few cards have been left simple.


Another Sue Wilson Die.  It is so lovely.


Here I have cut out a "bell" die many times on old book pages and glued together.  The recipient can join the edges together in the centre to complete the shape.


This card is a 7x5 card and all I have done is cut two dies out and put them on the front of the backing paper I used.  It works so well.


Here is an idea I saw on Pinterest, this shape of card. Something a little different.


 I have this wonderful DVD with pheasants and robins on in snowy scenes.  They work well with this coloured card stock.


This wonderful card stock also works well with Craft Card and I just love this "Gingerbread" die from Tonic.


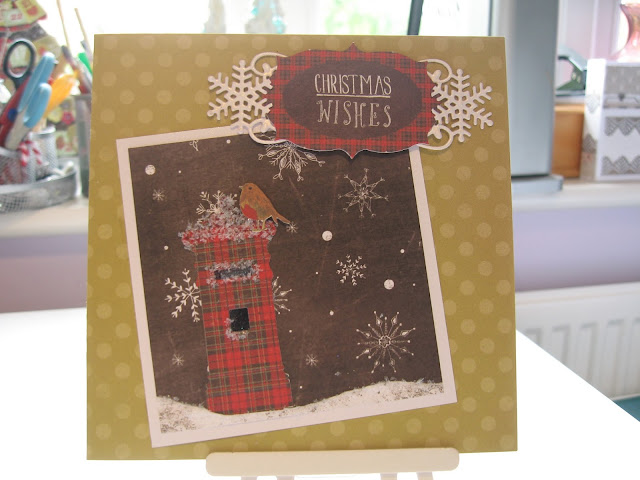
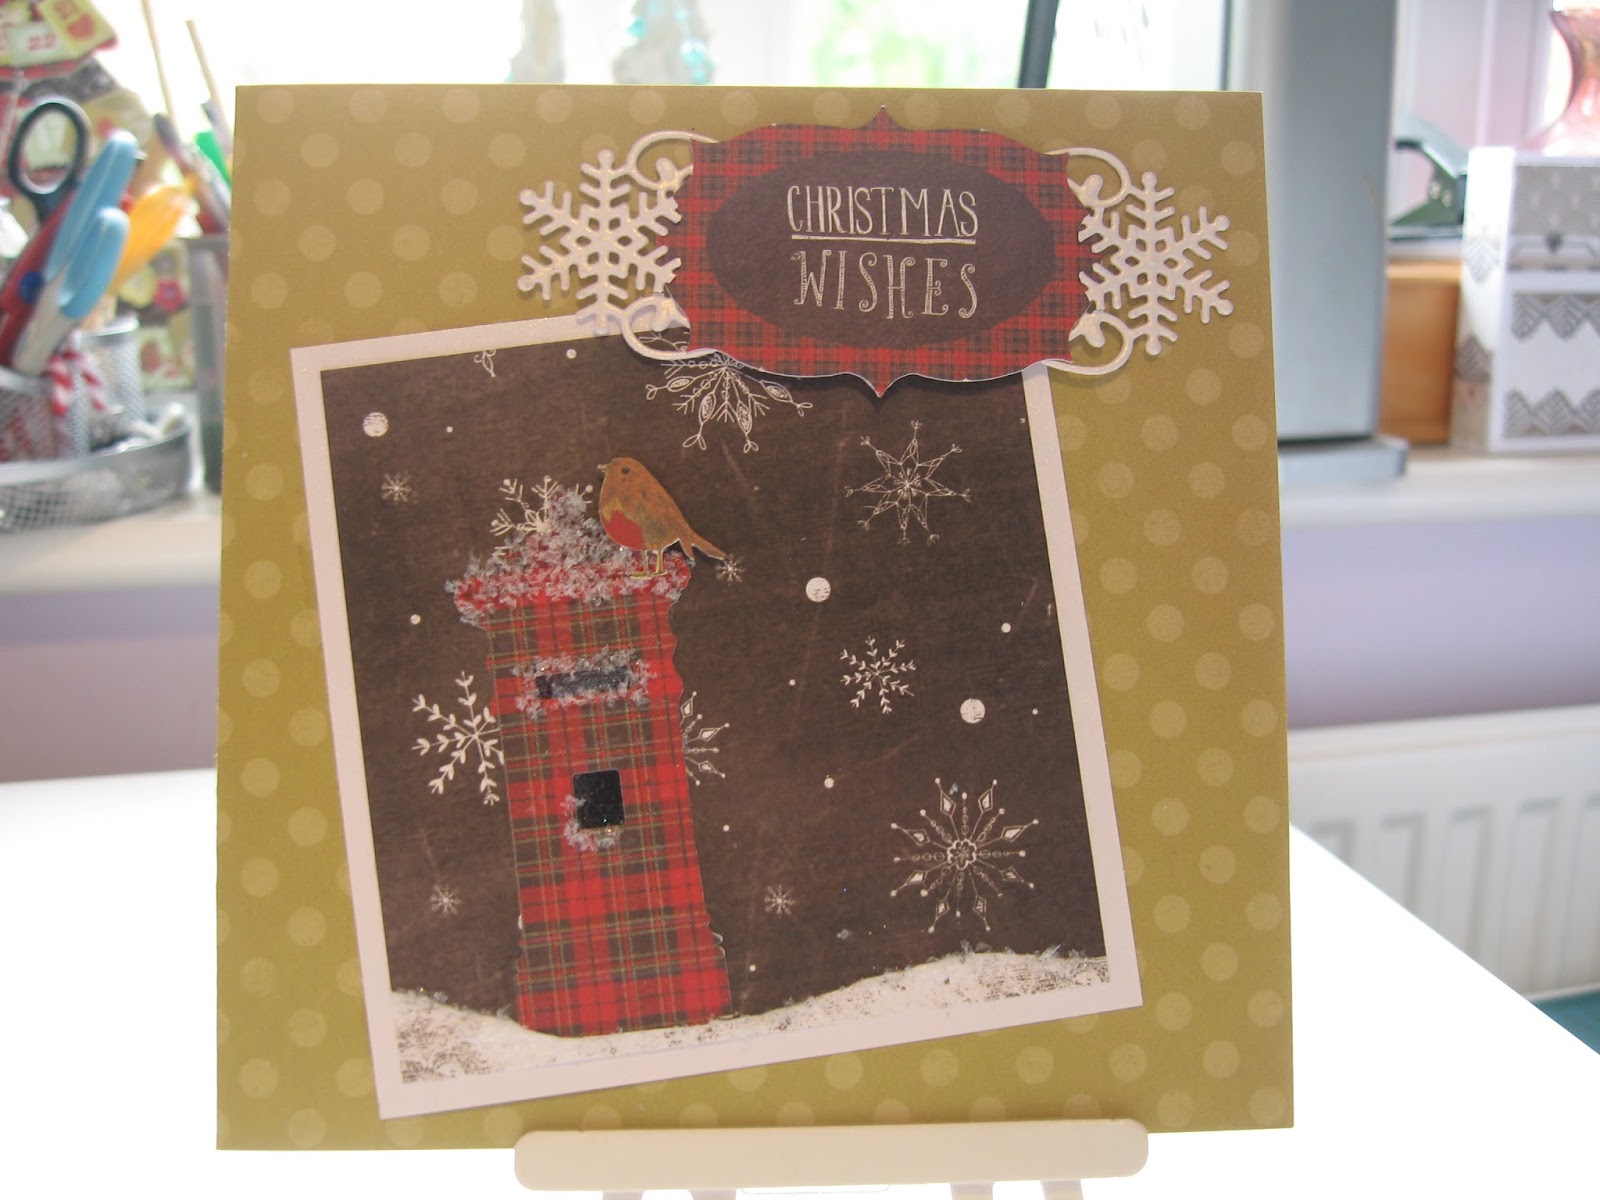
 I have a "Postbox" die from Crafter's Companion which has worked well on this card.


I had to try this background paper with my Crafters Companion Nativity Scene dies.


I have turned the tag into a pocket so you can add a gift card inside.


This took some time to create but I am pleased I did as it was a chance to try out some dies from the Diesire Accordian collection from Crafters Companion.


As you can see I have made quite a few cards already but still have plenty of stock to make many more cards from this lovely collection.  

Do post your comments on my blog as I do enjoy seeing them.  Crafty Hugs from Crafty Tash xxx

Sunday, 6 September 2015

Accordion Card

 Here is a card that I was commissioned to make by a work colleague for family member. It is to celebrate a very special birthday so needed to be something out of the ordinary.  I was asked several months ago to come up with something so the timing couldn't have been better when I was able to get my hands on the new Accordion Dies by Crafters Companion.  

I had always wanted to create one of these cards but the only supplier of Accordian dies was Sizzix and their dies are really bulky for storage so I wasn't keen on collecting these, no matter what.

The topper was made from a stamp from Imagination Crafts.  This was stamped onto acetate and the back of the acetate was covered with gold glitter gel.  I then stamped the image twice more onto acetate and cut out the fuschias and again covered them in different coloured glitter gel.  I then layered these to create a decoupage image and finished the topper off by making my own fuchsia flowers from dies from Heartfelt Creations.  As the flowers added some bulk to the card I created a box to put the card in.


Saturday, 5 September 2015

Sequined Peacock

Thanks to Julie Hickey from Craftwork Cards who has inspired me to use sequins on my cards.  You can purchase as many as 500 for as little as £1.50 from Ebay so a little can go a long way!

I originally made these two peacocks many months ago but didn't really like the mass of grey background so held back from finalising the card until I felt inspired.

Well today the inspiration came!  Why not use sequins on it I thought.  So I did.  I stuck them on with PVA glue and when it was set I then added some glossy accents over each sequin to ensure they would not fall off.  

I am so pleased with the end result.  I am definitely going to find more ways of incorporating sequins into my card making. I think a little bit of stickles in turquoise around the sentiment will tie it in better with the peacocks so I am going to do this later on.


Wednesday, 2 September 2015

Bohemian Dreams by Craftwork Cards

I have had a few days to get acquainted with and make some cards using the Bohemian Dreams paper collection by Craftwork Cards.    I feel I have simply fallen in love with this paper collection because it is so vibrant with colour.  I started off looking for inspiration on Pinterest so some of my earlier pieces of work have been inspired by creations found here.  

I quickly found that as time went on I got more and more adventurous and began looking through my templates and found one or two useful ones.  In particular, the owl template and the house so I set about making cards with both of these.

The first card I am going to show you is the owl card I made using the owl template.  I simply drew around it and cut it out.  I embossed the background card and then adhered the owl to it.  I then cut two circles to mark where the eyes are.  Then it got more exciting as I had a moment of inspiration for the eyes.  The other day I was using a die from Tonic "from me to you" and noticed that the waste produced a very large looking eye lash.  I just knew that I would find a use for this so I used a pair of these to make the eyelashes.  Then to finish off the eyes I made a small pair of flower buds and now the owl looks sensational, take a look!


This next card is made in a similar way, using another template to draw around and makes an ideal "new home" card.


And finally here are some more cards I have made using the paper collection.  I just love the typewriters and alarm clocks, they are great for card makers.


Now you know what I have been up to over the last few days so let me know what you think.


and now the weekend is here, I have made a few more!!!


Saturday, 29 August 2015

Paper Quilting card

This was a fun card to do and made a nice background to sit my bunny toppers on.   It is a good way to use up scraps of paper too and it didn't take very long to cut these squares out and then stick onto a plain piece of paper. Once stuck down I then did a zig-zag decoration to look like faux stitching and hey presto, I have made a paper quilt.

I must try this again sometime soon!


Here is the finished card.


I hope you enjoy it and that I have inspired you to have a go at this simple technique.

Crafty hugsxxx

Saturday, 22 August 2015

Exploding Box


With this Gift Box template you get 7 dies which allow you to make an exploding box with a lid; it also comes with elements to decorate it. 

I think these are really cool and now the hard work of measuring and cutting has been eliminated, they are far easier to make. Having said this, this one below was a labour of love as it was experimental, being my first use of the dies.  The bow on the box was made using the Gift Bow template.


and this is what it looks like when you take the lid off!


I used my haberdashery dies to make the little sewing elements including the buttons and the mannekin.  These were cut from balsa wood and then decorated.  

I just love the use of blue and cream together don't you?

Crafty hugsxxx

Thursday, 20 August 2015

Christmas Tree Surprise

 Pinflair produce some fantastic products for craft and home decor projects  This Christmas tree can be used as an advent calendar or be prominently displayed on your table on Christmas Day then opened to reveal a box inside where you can place your own special surprise for your dinner guests. 

I preferred the idea of decorating mine with chalk paints/stencils as recently demonstrated on Create & Craft so I purchased the Cartonnage kit which saved me £10.  I then looked through my crafty stash of papers and found some lovely 12x12 paper from Papermania called Home for Christmas which inspired me to using this instead. 

I must admit to having had this paper stashed away for a few years now just waiting for the right moment to use it as it is simply gorgeous.

This is the end product and it is lovely.  There is a cone shaped top that lifts off so that the sides splay out to reveal a hidden box inside which you can then fill with sweets or chocolates, hence the name "Christmas Tree Surprise".

I didn't want to make a chain of beads to drape around the outside of the tree as suggested so I found some quality ribbon which I adhered to the back area of each of the sides in a zig-zag formation.  The ends were neatly hidden by the inside panels.    I plan to buy some mini pegs and may cut out some stamp sized numbers 1-24 so that it looks like an advent calendar.  

The tree has a separate base which it rests on.  At the moment I haven't glued this onto the tree as I plan to make it hinge so that I can hide some last minute treats in it just for me!

c


This next image illustrates how the item looks once the top is removed and you can see how the sides are held in position by the use of some cord.  They are held in place between layers of cardboard both at the tops of the tree and inside the box like so.


A final view of my tree.  Now that I know the cord is doing its job I will glue the inside panels to the edges of the box.  They are currently just pushed into position so I can check that the mechanics work.  


I am very pleased with my Christmas Tree Surprise and hope that my dinner guests will be at Christmas too.

Whilst writing about Pinflair products I would like to share with you other Pinflair products I have made over the last few years.

This sewing box;


and this tissue box:


Friday, 14 August 2015

Brushos

My earliest introduction to arts and crafts was watercolour classes but it is something I never felt particularly good at it. I think you need to be an artist and I am not particularly arty or good at drawing.  I think I am more of a crafts person really which is why I enjoy cardmaking and other hobbies.

Bearing in mind that I like the effect of watercolours, and prefer this medium to many others, I was quite excited to discover something that can be used in a similar way to watercolours and that is Brushos.

Brushos are a brilliantly intense paint powder that come in small plastic pots.  Brushos are made in the UK, Surrey and have been around a while but have slipped under my radar until recently.  They come in small plastic pots.  You can either mix the powder with water and use like watercolour paint with a paint brush or apply to your card stock either before or after spritzing it with a fine mist of water.

If you intend to work loosely with this product it is recommended that you pierce a small hole into the lid as opposed to opening completely to avoid spillage.  A small hole is adequate as you only need the tiniest amount to work with.    

There are different ways of using your Brushos as I mentioned above and I would like to show you my creations where I have first sprinkled the paint crystals onto the card stock then sprayed with water.   Instead of relying on my own drawing skills, I have used stamps to build the artwork into a picture.

Here are my first few attempts.  Once you start to combine them with stamps they make a really cool background to your images.


Stamp: Inspired by Banksy - Hope


Wildflowers SA-5029 stamps by Stamp Addicts


 Stamp: Inspired by Banksy - Hope


 Wildflowers SA-5029 stamps by Stamp Addicts


Stamp: Inspired by Banksy - Swing


Stamp: by Stampendous

There are videos available on YouTube providing demonstrations.  https://www.youtube.com/watch?v=Y3m1S0Y7bc4

The videos I enjoyed came from Bee Crafty whilst watching the Great British Craft Network (www.britishcraftnetwork.tv)

Bee Crafty have their one webpage and blog which is worth visiting http://www.beecrafty.net/


I hope you enjoyed my artwork. If so, do spare a moment and comment on my blog page.  Thank you, Crafty Tash

Sunday, 9 August 2015

Domed Cards

Here is a clever concept I have been meaning to try but wasn't sure how it worked until recently.  It is a card with a domed front which can fold flat for fitting in an envelope.

A piece of acetate is cut slightly longer than the width of the card and fixed in place down the left side using double sided sticky tape.  To hide this it is then covered with a narrow piece of black card. Then on the right hand side of the card another narrow strip of card is stuck down with only a thin strip of glue which is just enough to leave a flap which the acetate can tuck into. When the acetate is tucked into the flap it creates the domed front.  


I saw this particular card idea on the Create and Craft channel when Sue was on showing products from Imagination Crafts.  They are one of my favourite products as I like using their Sparkle Medium which is glitter in a gel suspension so it is spreadable.

The reason I choose this particular stencil to try my first domed card on was that the effect it created using the domed front and the stencil in reverse.  It actually makes the merry go round look like it really is going round.


First I used the Sparkle Medium on 6x6 black gloss card using the stencil then reversed the stencil and used it again on some acetate.  When dry I constructed my card.